ShowScript Documentation
What is ShowScript
ShowScript is a parallel scripting language created by EVRST Engineering designed for controlling the thematic elements of theme park rides. Its flexibility extends beyond ride control to include sequencing audio, video, lighting, show effects, and electronic peripherals. Inspired by traditional PLCs, C++ and Assembly programming languages, it uses a human-readable scripting format for ease of use.
Key Features:
- DMX Control: Supports DMX devices via the Art-Net Ethernet protocol for precise lighting and effects management. (Note: DMX is the industry-standard protocol for controlling theater and show lighting and effects.)
- Hardware Integration: Includes drivers for I/O modules, enabling interaction with hardware sensors, input signals, and other peripherals.
- Audio: Multi-channel audio support via the ASIO sound subsystem, ensuring compatibility with professional audio interfaces.
- Video: Full-screen multi-monitor video support for seamless playback on dedicated monitors.
ShowScript blends the reliability of industrial control systems with the creativity needed for dynamic show automation.
We offer ShowScript, in two versions:
- A free version for hobby enthusiasts, students and non-commercial projects
- A Pro version for professional use in commercial and high-demand environments
ShowScript Ecosystem
The ShowScript ecosystem consists of two main components: the optional ShowScript IDE for developing scripts, and the ShowScript Engine, which handles the actual execution of your control code.
The ShowScript Engine is designed for performance and reliability. It works as a hybrid between a compiler and an interpreter. While it uses easy-to-read ASCII code as input, the engine first validates and pre-compiles the script before running it. This process ensures ultra-precise timing and eliminates many of the common runtime issues found in traditional Just-In-Time (JIT) scripting and programming languages. The result is smooth, predictable performance, exactly what’s needed for show control systems.
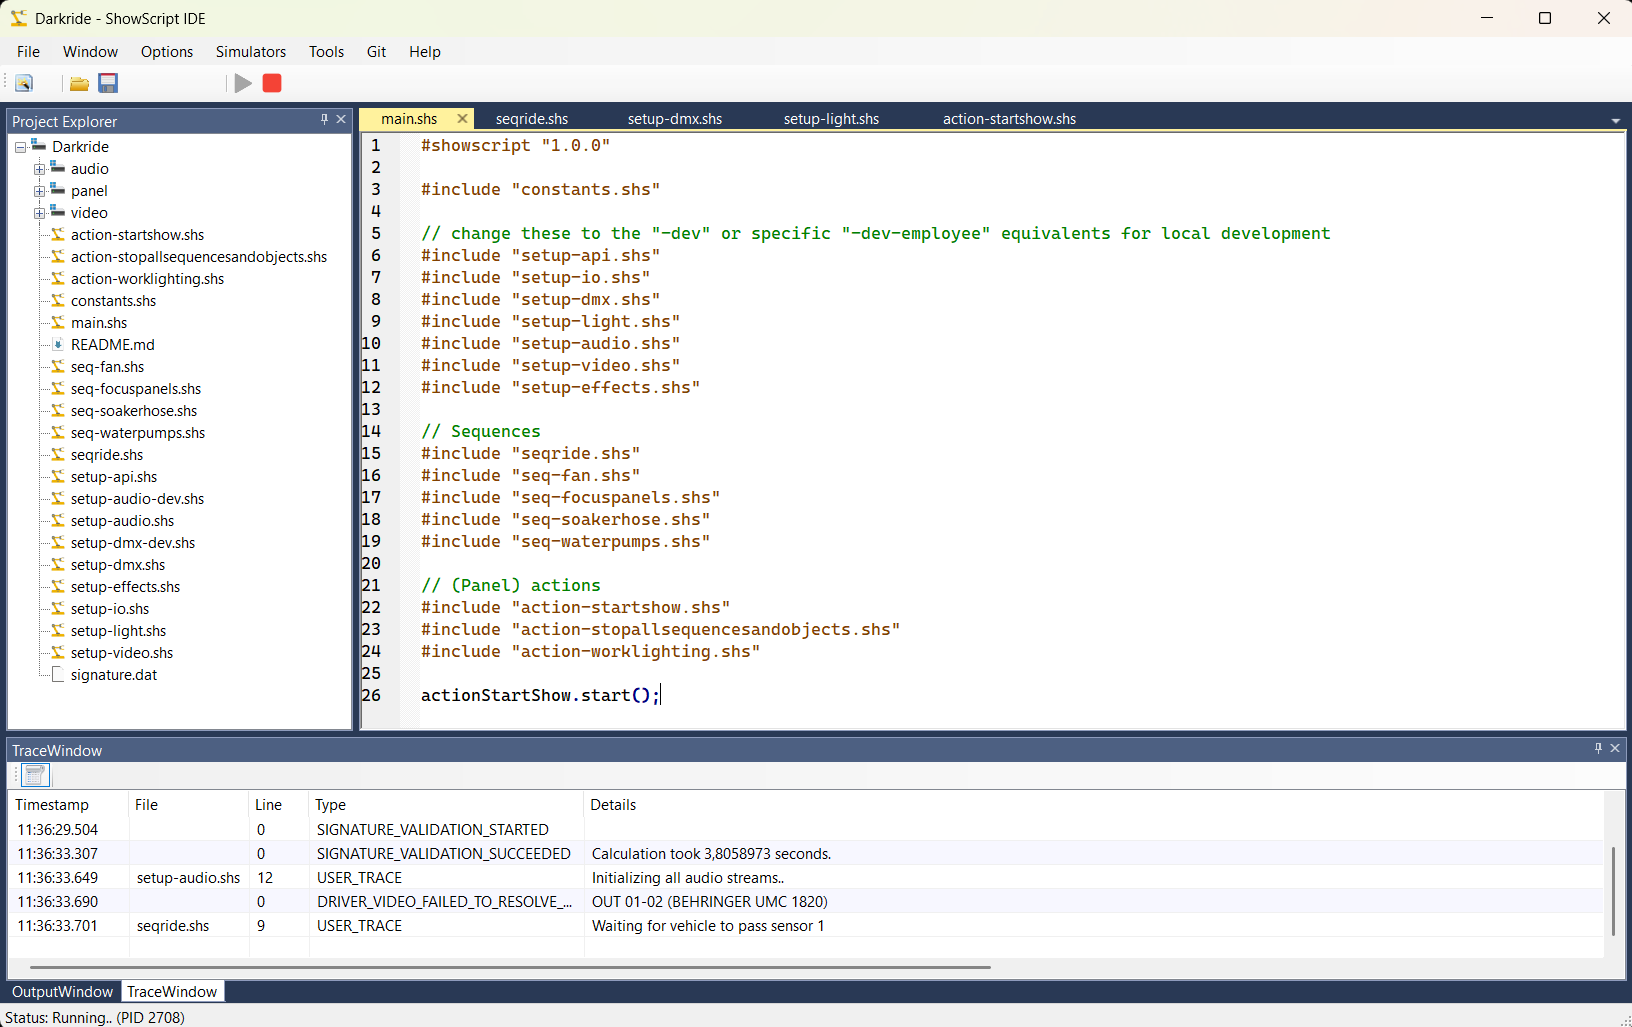
ShowScript IDE
The ShowScript IDE is a powerful development environment included with the ShowScript installer. It features quick-start templates, syntax highlighting and validation, built-in debugging, and a suite of development tools to streamline your workflow.
Getting started
To get started, we recommend downloading the latest version of the ShowScript software for Windows. It includes the development environment (IDE), the ShowScript engine, and sample projects to help you begin. You'll be running your first blinking light example in just one minute!
Each ShowScript is stored in a .shs file. Every file must begin with a line specifying the ShowScript language version, formatted as follows in this very simple (pseudo) ShowScript example:
#showscript "1.0.0"
#define OFF 0
#define ON 255
// Example sequence
::blinksequence
init(2);
setFps(1);
:0#beginning
lamp1 = ON;
:1
lamp1 = OFF;
^beginning
#realtime
blinksequence.start();
Note: This example omits the definitions of lamp1, lamp2. However, it provides a basic overview of the language.
Comments
Lines starting with // are treated as comments and ignored during execution. Comments are useful for improving code readability. Alternatively, text enclosed within /* ... */ is also considered a comment. Comments can be placed after regular code lines as well. Note that multi-line comments are not supported. Here are examples of valid comments:
// This is a single-line comment
/* This is another single-line comment */

input1 = 10; // Inline comment after code
input2 = 20; /* Inline comment after code */
Identation
Empty lines and indentation (tabs or spaces) does not affect code execution but is useful for improving code readability and organization.
::mytestsequence
init(30); // No indentation
Is the same as:
::mytestsequence

    init(30); // Indented for better readability
Includes
Scripts can be split into multiple files for better organization. To include a partial script from another file, use the include statement. Paths are relative by default unless specified as absolute.
#include "otherfile.shs"
Variables
Variables, akin to registers in traditional PLCs, are used to store values for later use within the script. All variables in ShowScript are global, allowing access across all sequences and API.
/* Initialize variable */
myVariable = new var();
/* Put value 1 inside variable */
myVariable = 1;
Defines
Using defines lets you assign meaningful names to values, improving code readability and maintainability. For example, when controlling DMX devices with an 8-bit value range (0–255), specific values often correspond to distinct states, such as:
- 255 for lamp "full on"
- 127 for lamp "half on"
- 0 for lamp "off"
To simplify your code and make it self-explanatory, you can define these values using preprocessor macros:
#define FULL_ON 255
#define HALF_ON 127
#define OFF 0

lamp1 = 255;

// This is equivalent to:

lamp1 = FULL_ON;
Traces
Traces output a line to the trace window of the ShowScript IDE whenever encountered during code execution, making them invaluable for debugging ShowScript code. Example:
trace("This is printed to the trace window of the IDE");Stopwatch markers
You can trigger a marker in the Stopwatch window during code execution in ShowScript IDE to track specific points in time within a sequence. This is useful for timing events or performance monitoring.
mark("A point in time within a sequence");You can manually trigger a marker by either clicking the marker button or pressing F9. This allows you to add markers at specific points during code execution.
Sequences
Basics
Sequences are the core building blocks of ShowScript, acting as logical units for executing specific tasks. You can create as many sequences as needed. Each sequence features built-in time management, allowing precise scheduling of code execution. Sequences can be started or stopped manually or triggered by other sequences, enabling the creation of highly complex setups. Each sequence must a unique identifier.
Time management
The built-in sequencer uses a frame-based system (FPS). When defining a sequence, you must specify its total frame count. Use the setFps(..) function to set the sequencer's speed in frames per second.
Creating a simple sequence.
::testsequence
init(100); // Initialize the sequence with 100 frames
setFps(20); // Set speed to 20 frames per second, making the sequence duration 5 seconds
Note: The frame index is zero-based. Initializing a sequence with 100 frames gives a frame range of 0 to 99.
Frame indicators
Frame indicators direct the sequencer to execute code at specific points in time. These lines start with : followed by a frame number, which can be absolute or relative.
::mytestsequence
init(31);
:10
trace("do something at frame 10");
:20
trace("do something at frame 20");
:+1
trace("do something at frame 21");
:+9
trace("do something at frame 30");
You can also specify a time unit, such as 's' for seconds or 'm' for minutes. For example:
:10s
	trace("do something at exactly 10 seconds");
:+10s
	trace("do something at exactly 20 seconds");
:+1m
	trace("do something at exactly 80 seconds");
Time modes
Code in a ShowScript file runs in either real-time or non-real-time context. Defining a sequence or frame indicator marker switches the script to non-real-time mode.
In real-time mode, lines are executed immediately as the interpreter reads them. In non-real-time mode, lines are executed at their specified frame time.
::mytestsequence
init(11); // Initialize the sequence with 11 frames
setFps(1); // Set speed to 1 frame per second
trace("This will be executed immediately");
:10 // Marker for frame 10
trace("This will be executed when the sequencer reaches frame 10");
Sometimes you might want to jump out of non-realtime to realtime mode (to get out frame indicator context). You can do this using the #realtime directive:
::mytestsequence
init(11);
setFps(1);
:10
trace("do something at frame 10");
trace("doing more stuff at frame 10..");
#realtime
mytestsequence.start();
Jumps
Jumps, indicated by the ^ symbol followed by a frame number or frame indicator label, control the sequencer's transport. For example, they can be used to create loops like in this example:
::mytestsequence
init(3);
:0#beginning
trace("do something at frame 0");
:+1
trace("do something at frame 1");
:+1
^beginning
Sequence sections
Each sequence includes two built-in special frames: the initializer and deinitializer. Code within the initializer frame is executed when the sequence starts (before frame 0), while code within the deinitializer frame is executed when the sequence is stopped or naturally ends (after the last frame is executed). The initializer frame indicator is marked with a single :, while the deinitializer frame indicator is marked with ~:.
::mytestsequence
init(51); // Initialize sequence with 2 frames
:
trace("Initializer frame: A good place to initialize lamps or devices with starting values");
:0
trace("Execute something at frame 0");
:50
trace("Execute something at frame 50");
~:
trace("Deinitializer frame: A good place to reset lamps or devices to their default values");
Sequencer control
Sequences can be controlled as follows, assuming a sequence named testsequence:
testsequence.start(); // Starts the sequence, runs the intializer frame and then starts (at the current frame), if the sequence was already running it will be stopped first.

testsequence.restart(); // Same as start, except it starts at frame 0

testsequence.stop(); // Stops gracefully after executing the current frame and them runs the deinitializer frame

testsequence.kill(); // Immediately stops without running the deinitializer frame

testsequence.jump(10); // Jumps to frame 10 in the sequence